The HPE Aruba Networking Instant Mode GUI configuration example shows the configurations steps for an HPE Aruba Networking Instant Mode 8 setup using the Instant Cluster Web UI.
Configuration Steps
Section titled “Configuration Steps”- Log in to the HPE Aruba Networking Instant Mode access point web interface.
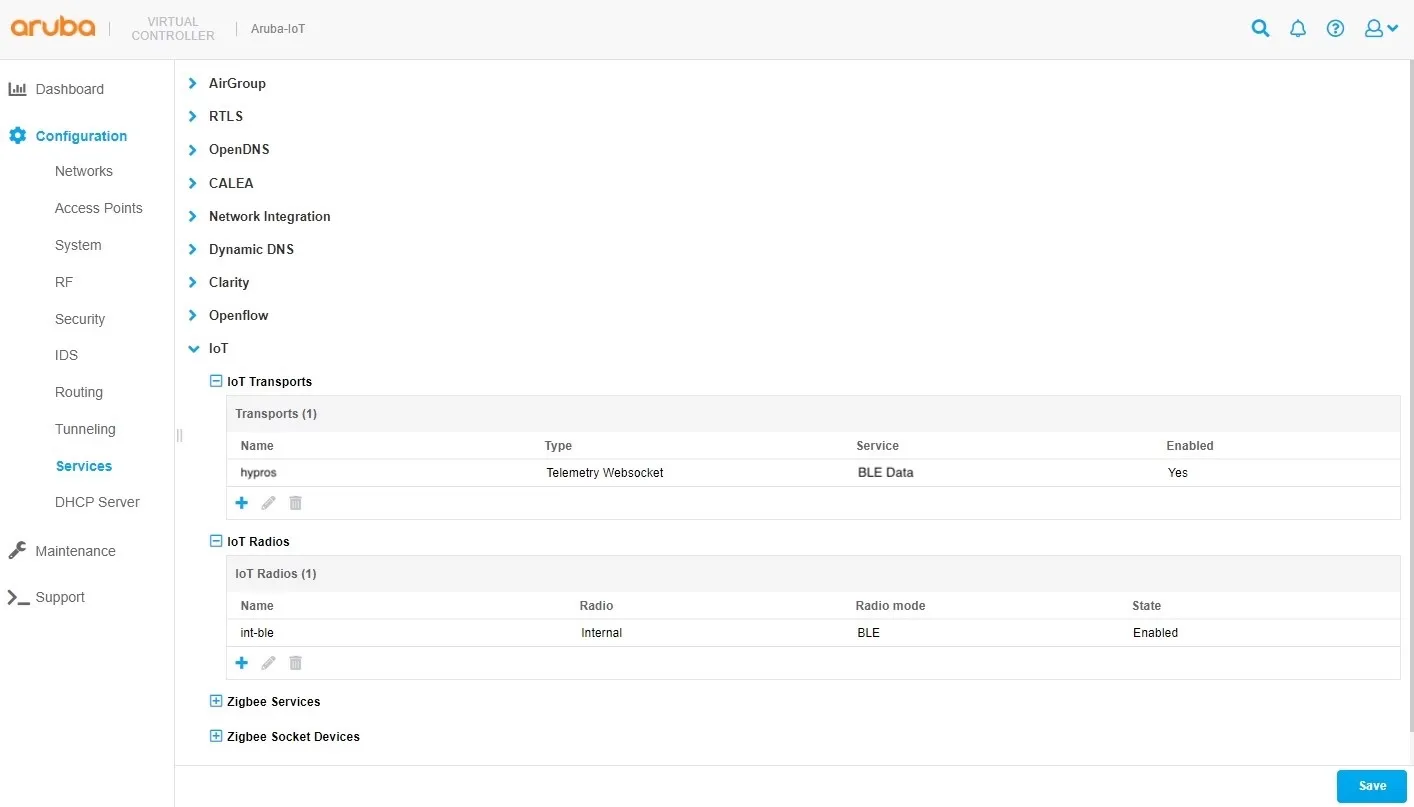
- In the menu on the left side go to Configuration > Services and open the sub menu IoT in the main window.
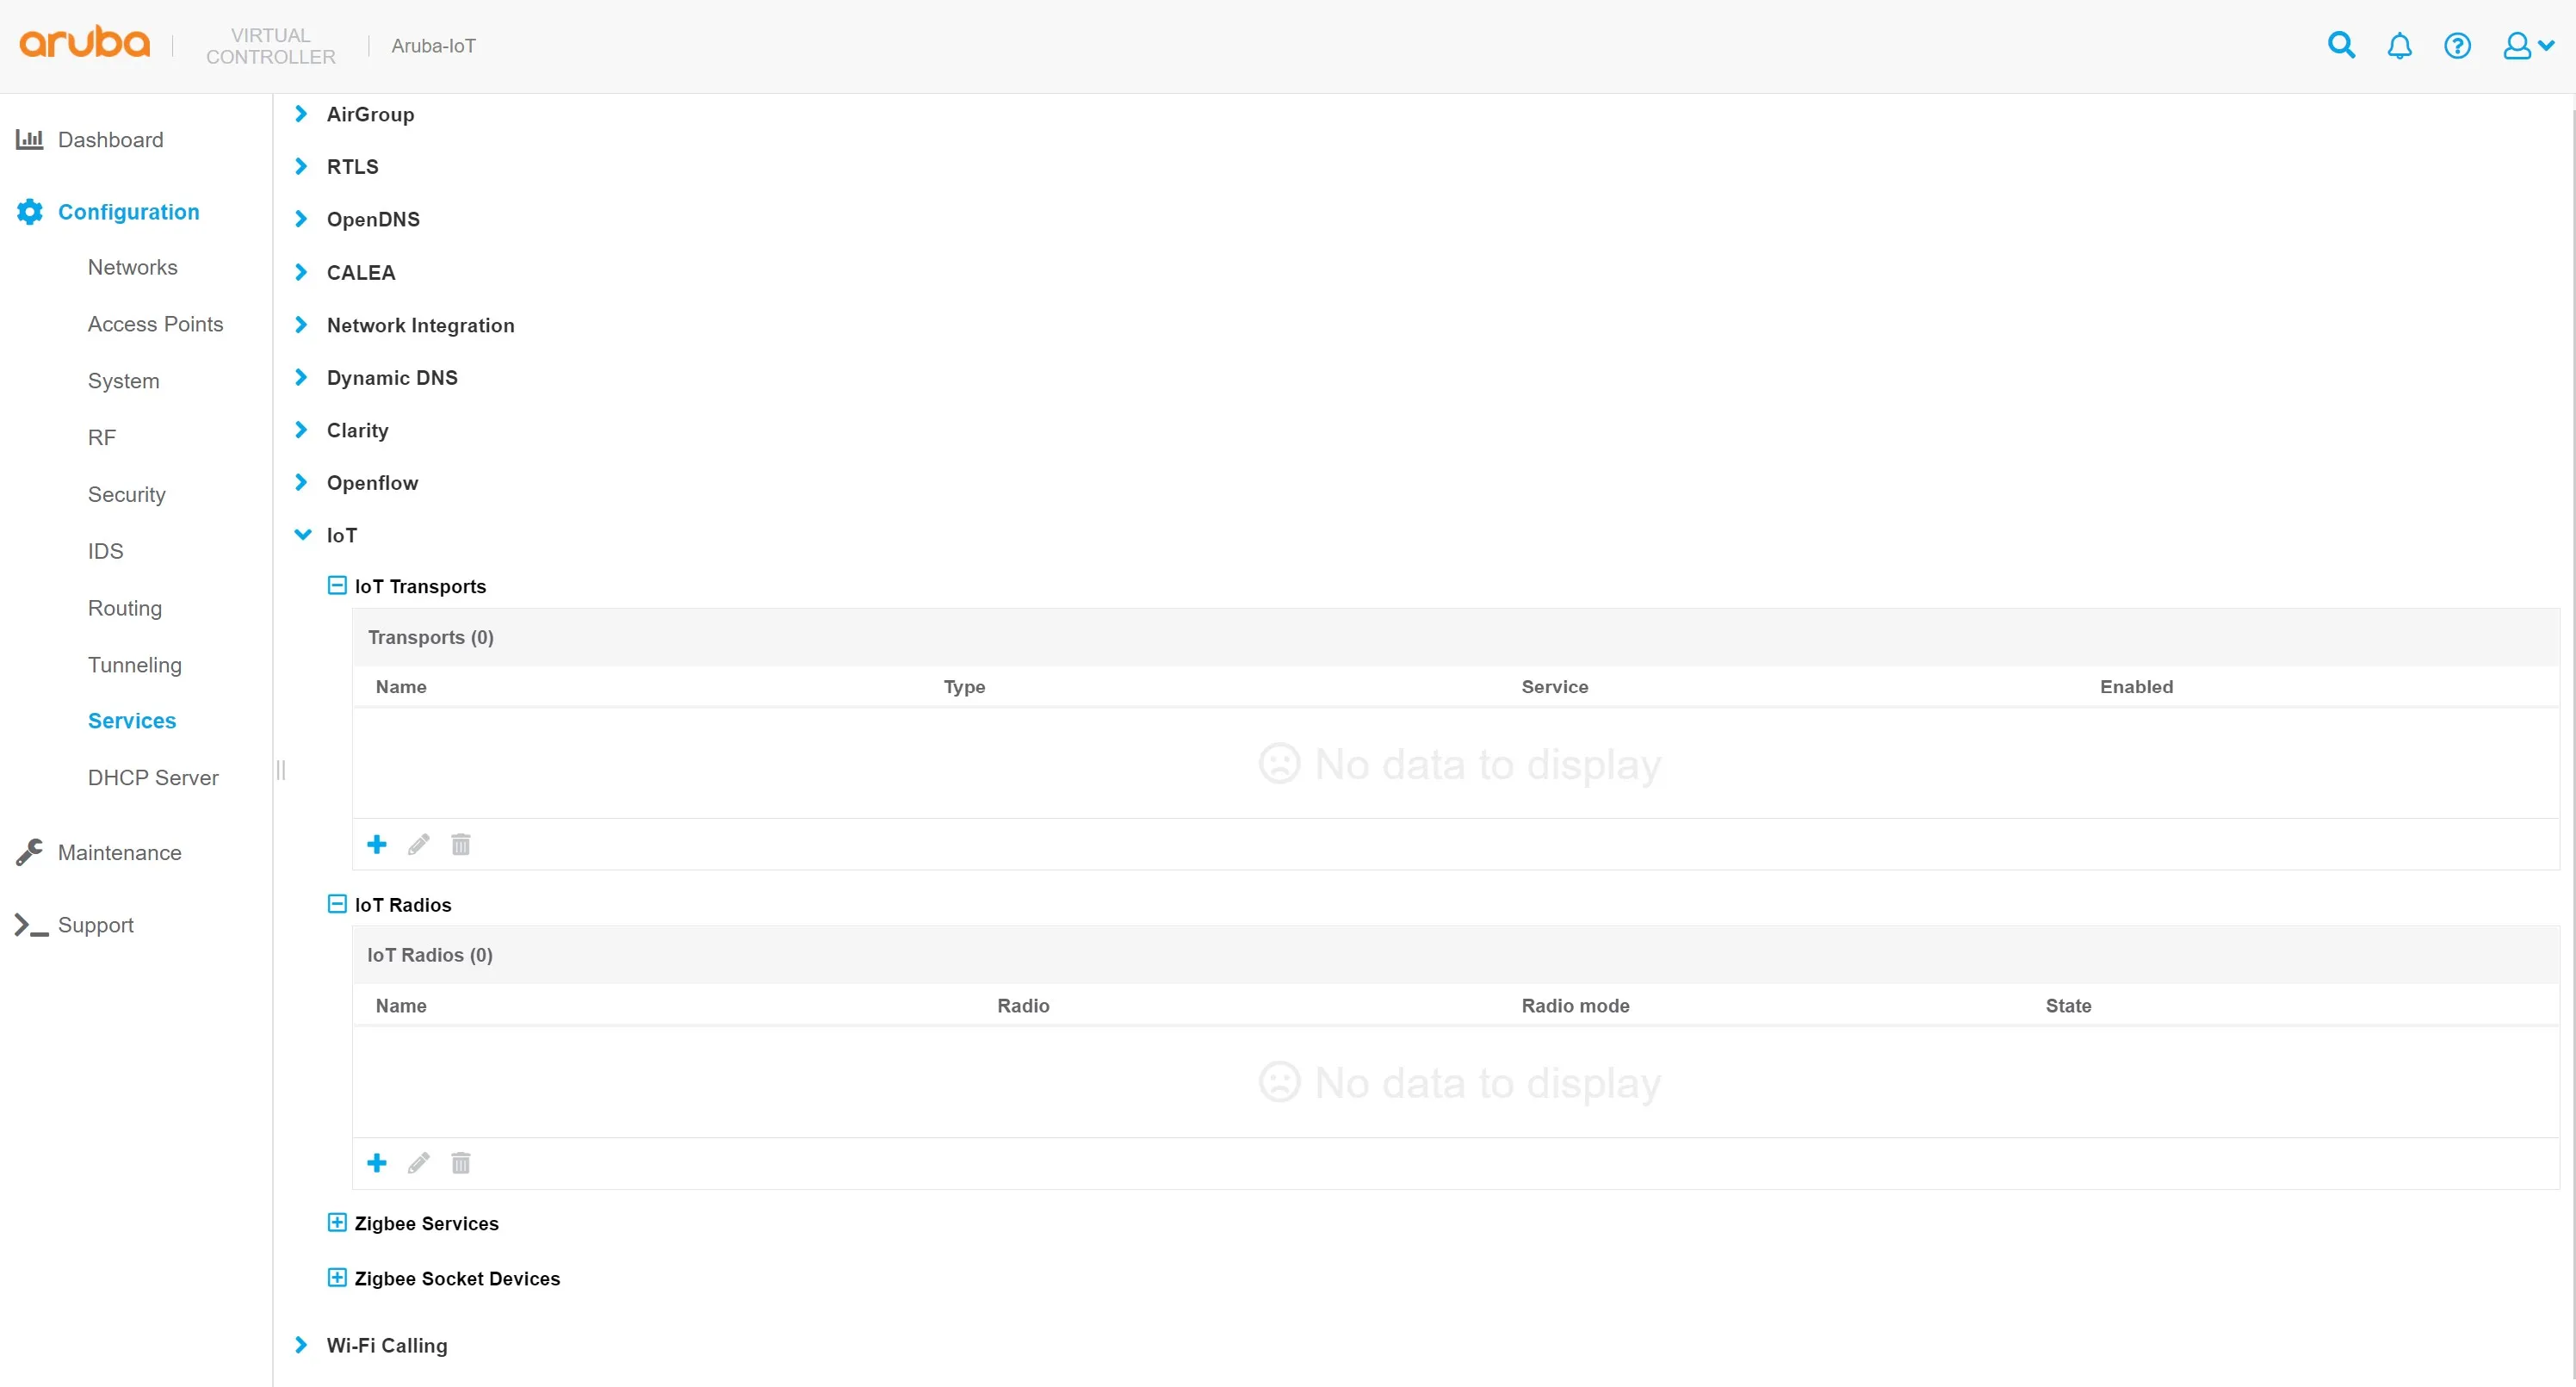
- Add a new IoT radio configuration or change an existing one to enable the BLE mode of the HPE Aruba Networking AP's IoT radio:
- a. Click on the + icon in the IoT Radios sub menu to add a new IoT radio profile.
- b. Enter a profile name.
- c. Set the state switch to enabled.
- d. Select the desired radio.
- e. Set the radio mode to BLE.
- f. Set the BLE operational mode to both.
- g. Set the AP's BLE console mode to the desired state.
- h. Set the tx power to desired value, default is 0. This setting is only relevant when using BLE advertisements sent by the AP.
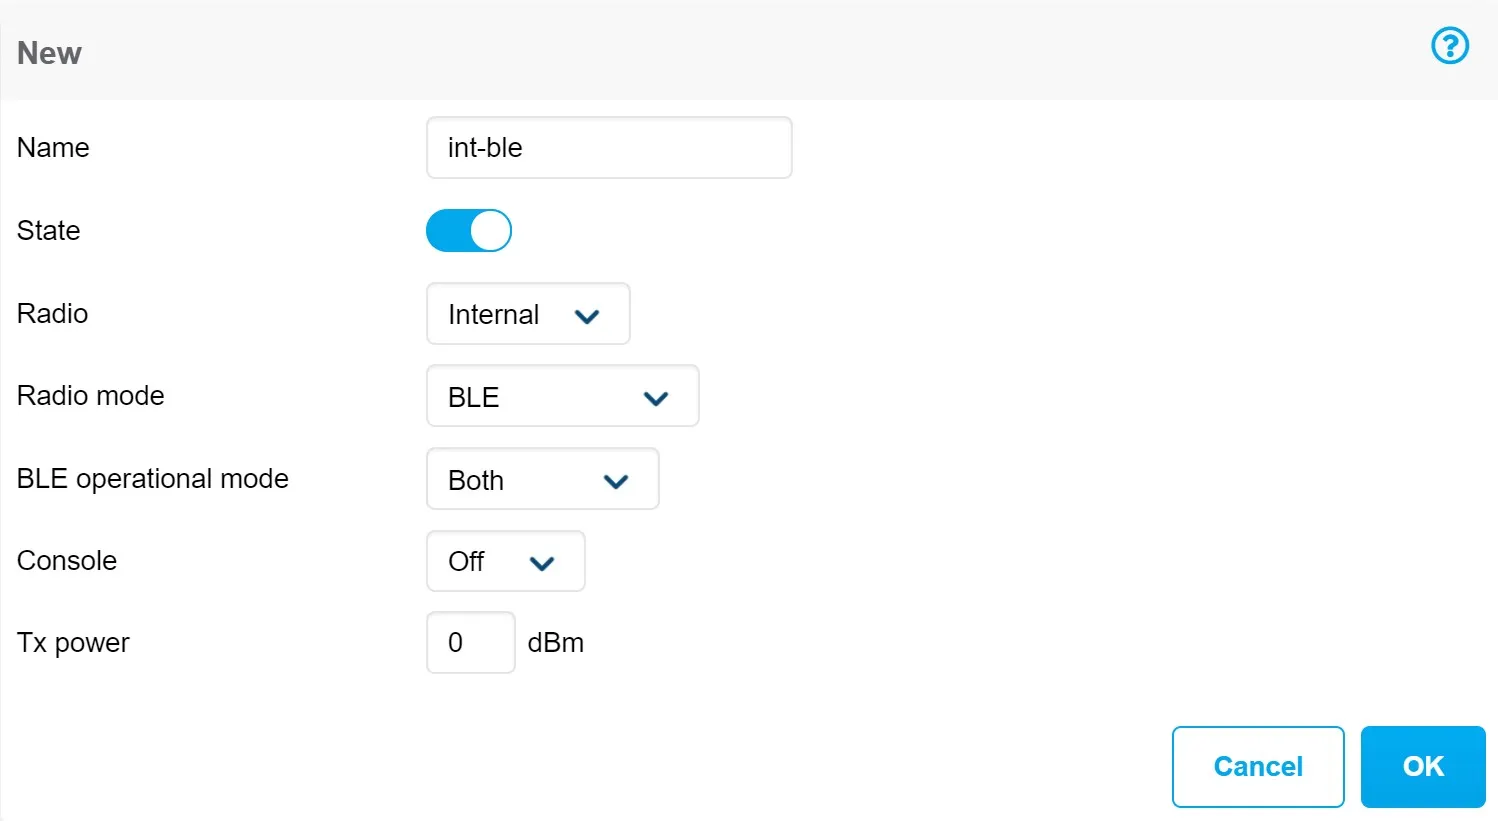
- i. Click OK to close the IoT radio profile dialog.
- Add a new IoT transport profile to configure the connectivity to the HYPROS solution backend:
- a. Click on the + icon in the IoT transports sub menu to add a new IoT transport profile.
- b. Enter a profile name.
- c. Set the State switch to enabled.
- d. Set server type to Telemetry Websocket.
- e. Enter <serverURL> as the server URL.
- f. In the destination section, select token as authentication method.
- g. Enter the access token provided for your HYPROS account.
- h. Enter the client id.
- i. (optional) enter the desired VLAN ID that should be used for the server communication. Leave empty if the APs management VLAN is used.
- j. (optional) enter proxy server information as required.

- k. Select BLE Data as transport service.
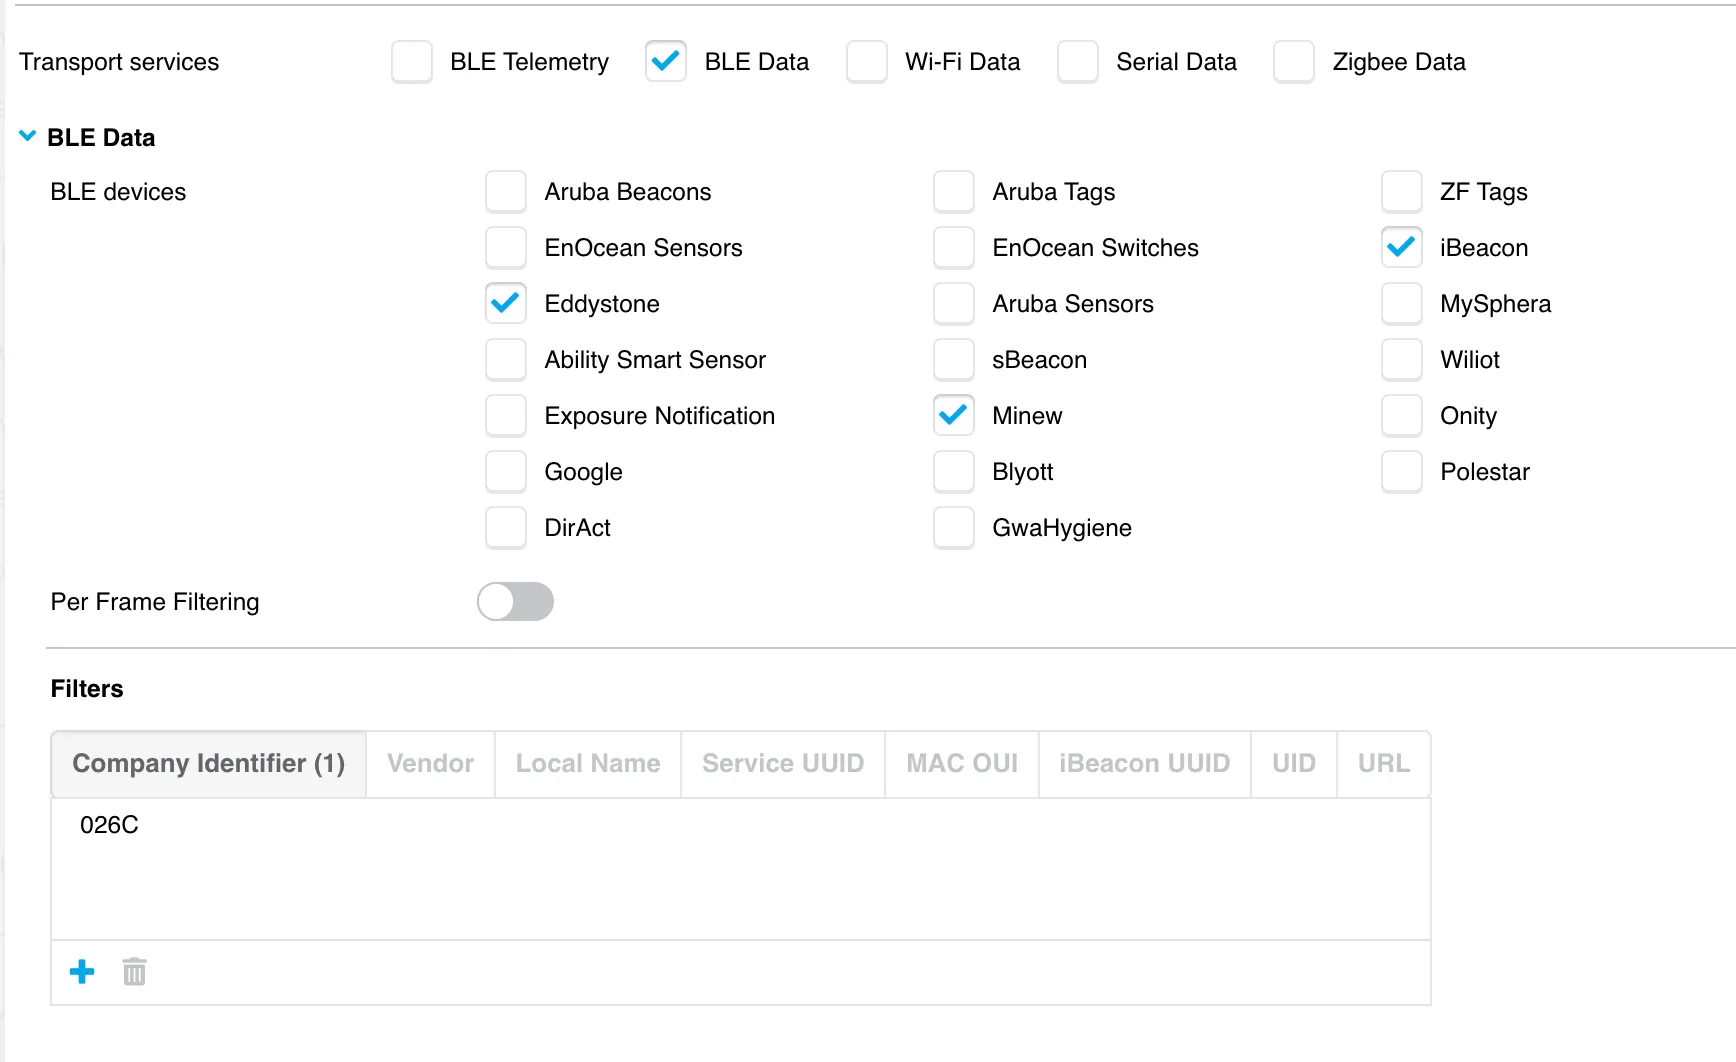
- l. Select Eddystone, iBeacon and Minew under BLE devices for the transport service BLE Data.
- m. Enter 026C as a Company Identifier for the transport service BLE Data
- n. Click OK to close the IoT transport profile dialog
- Click on Save to save and activate the configured settings.